Trezor.io/Start
Cryptocurrency security is one of the most important responsibilities for any crypto holder. With increasing reports of hacks, scams, and exchange failures, relying on online wallets alone can put your digital assets at risk. Hardware wallets offer a safer alternative, and Trezor is one of the most trusted names in this space.
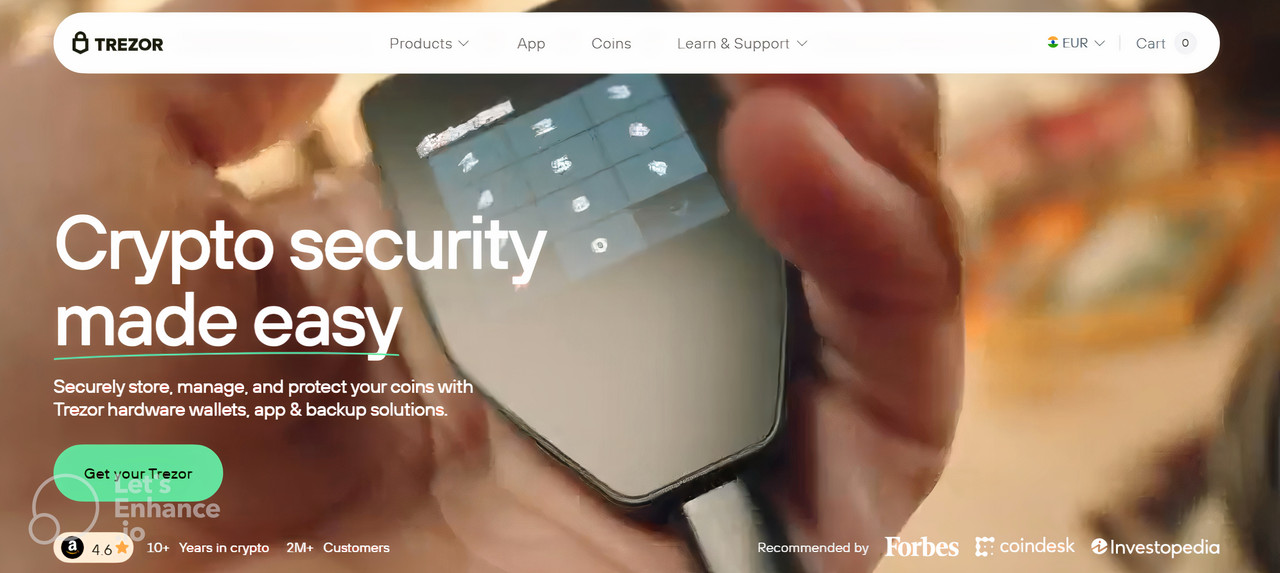
Trezor.io/start is the official setup page designed to help users safely configure their Trezor hardware wallet. It provides guided instructions to ensure your wallet is properly set up, your recovery information is protected, and your cryptocurrency remains secure from the very beginning.
What Is Trezor.io/Start?
Trezor.io/start is the official onboarding platform for Trezor hardware wallets. It ensures that users download genuine software, install verified firmware, and follow secure setup practices. This page protects users from counterfeit applications and phishing websites that can steal private keys.
By using Trezor.io/start, you confirm that your device is authentic and that your crypto wallet setup follows industry-leading security standards.
Why Use a Trezor Hardware Wallet?
A Trezor hardware wallet stores your private keys offline, meaning they are never exposed to the internet. This drastically reduces the risk of hacking, malware, and phishing attacks.
Key advantages include:
Offline storage of private keys
Physical confirmation of transactions
Protection against keyloggers
Support for hundreds of cryptocurrencies
Trezor gives you full ownership and control of your digital assets without relying on third-party platforms.
Choosing the Right Trezor Device
Before starting at Trezor.io/start, identify your Trezor model:
Trezor One: Affordable and easy to use, ideal for beginners.
Trezor Model T: Advanced model with a touchscreen, expanded coin support, and additional security features.
Both devices use the same official setup process and provide strong protection for your crypto holdings.
Step 1: Unboxing and Inspecting Your Device
When your Trezor arrives, carefully inspect the packaging. Ensure the security seals are intact and that the device shows no signs of tampering. Using a compromised device can put your funds at serious risk.
Once verified, connect your Trezor to your computer or compatible mobile device using the provided USB cable.
Step 2: Visit Trezor.io/Start and Download Trezor Suite
Open your web browser and go directly to Trezor.io/start. The page will prompt you to download Trezor Suite, the official application used to manage your wallet.
Trezor Suite is available for:
Windows
macOS
Linux
Installing Trezor Suite allows you to manage coins, track balances, update firmware, and securely authorize transactions.
Step 3: Installing Firmware
New Trezor devices do not come with firmware preinstalled. During setup, Trezor Suite will guide you through installing the latest firmware version.
Firmware updates:
Improve security
Fix bugs
Add support for new cryptocurrencies
Always install firmware through Trezor Suite and never disconnect your device during the process.
Step 4: Creating a Secure PIN
After firmware installation, you will create a PIN code. This PIN protects your device from unauthorized physical access. Trezor uses a randomized number grid on the device screen, preventing keylogging attacks.
Choose a PIN that is difficult to guess but easy for you to remember. Never share your PIN with anyone.
Step 5: Generating Your Recovery Seed
The recovery seed is the most important security element of your Trezor wallet. It is a list of 12 or 24 words generated during setup. These words act as a backup that allows you to restore your wallet if the device is lost, stolen, or damaged.
Best practices for recovery seed storage:
Write it down on paper only
Store it in a secure offline location
Never take photos or store it digitally
Never share it with anyone
Losing your recovery seed means losing access to your funds permanently.
Managing Crypto with Trezor Suite
Once setup is complete, Trezor Suite becomes your main dashboard. You can:
Send and receive cryptocurrencies
View transaction history
Manage multiple accounts
Monitor portfolio performance
Every transaction must be confirmed directly on your Trezor device, ensuring no transaction occurs without your physical approval.
Security Best Practices for Trezor Users
To maximize long-term security:
Always access your wallet through Trezor.io/start or Trezor Suite
Keep your firmware updated
Enable passphrase protection for advanced security
Beware of phishing emails and fake websites
Never share your recovery seed or PIN
Strong security habits combined with hardware protection offer the highest level of crypto safety.
Troubleshooting Common Issues
Some users may face setup challenges:
Device not detected: Try a different USB port or cable
Forgot PIN: Restore wallet using the recovery seed
Firmware update fails: Restart Trezor Suite and retry
Most issues can be resolved easily by following the official instructions.
Why Trezor.io/Start Is Ideal for Beginners
Trezor.io/start simplifies the entire hardware wallet setup process. Its step-by-step guidance helps beginners avoid costly mistakes while building confidence in managing cryptocurrency securely.
This guided setup ensures your wallet is protected from the very first transaction.
Conclusion: Take Control of Your Crypto Security
Using Trezor.io/start is the safest way to begin using a Trezor hardware wallet. From verifying your device to securing your recovery seed, every step is designed with security in mind.
By following this guide and maintaining good security practices, you gain complete control over your digital assets and protect them for the long term. Trezor offers peace of mind in an increasingly digital financial world.